Heroku
Heroku is a platform that enables developers to build, run, and operate applications entirely in the cloud. Let's see how to self-host Appsmith on Heroku.
The administrative privileges (Admin settings) are not available due to deployment restrictions with the Heroku container (dynos).
Deployment steps
- Sign up for a free account on Heroku
- Click the button
- Fill in the required
Config Variablesincluding:APPSMITH_ENCRYPTION_PASSWORD: Encryption password to encrypt all credentials in the database. You can use any random string (For example,abcd). The more random, the better.APPSMITH_ENCRYPTION_SALT: Encryption salt is used to encrypt all credentials in the database. You can use any random string (For example,abcd). The more random, the better.APPSMITH_MONGODB_URI: Your MongoDB URI. Since Heroku doesn't support a managed MongoDB instance, you'll have to create a MongoDB instance on another service such as https://cloud.mongodb.com. Check out this link for steps on creating a free account with MongoDB Atlas and setting up your first cluster.
- (Optional) Customize the default settings in Heroku
App Name: Optionally select a name for your application (it is used in the application URL)Runtime Selection: Select which region your app should run in (the United States or Europe)Config Variables:- Sign Up
APPSMITH_SIGNUP_DISABLED: Set this value to true to disable allowing users to sign up on your Appsmith instance. Users can only sign up if a workspace administrator invites them.
- Email Configuration:
APPSMITH_MAIL_ENABLED: Set this value to true to enable email sending (value should betrue/falseonly).APPSMITH_MAIL_FROM: Email ID used to send emails.APPSMITH_REPLY_TO: Email ID to which all email replies are sent.APPSMITH_MAIL_HOST: The host endpoint for the SMTP server.APPSMITH_MAIL_SMTP_TLS_ENABLED: Set this value to enable TLS for your SMTP server (value should betrue/falseonly.)APPSMITH_MAIL_USERNAME: SMTP username.APPSMITH_MAIL_PASSWORD: SMTP password.
- OAuth Configuration:
- Google OAuth:
APPSMITH_OAUTH2_GOOGLE_CLIENT_ID: Client ID provided by Google for OAuth 2.0 login.APPSMITH_OAUTH2_GOOGLE_CLIENT_SECRET: Client secret provided by Google for OAuth 2.0 login.
- GitHub OAuth:
APPSMITH_OAUTH2_GITHUB_CLIENT_ID: Client ID provided by GitHub for OAuth 2.0 login.APPSMITH_OAUTH2_GITHUB_CLIENT_SECRET: Client secret provided by GitHub for OAuth 2.0 login.
- Google OAuth:
APPSMITH_GOOGLE_MAPS_API_KEY: Google Maps API key that is required if you wish to leverage the Google Maps widget. Read more here.APPSMITH_DISABLE_TELEMETRY: You may share anonymous usage data with Appsmith. This data is purely statistical and helps Appsmith understand your needs & provide better support to your self-hosted instance. For more information, see what information is collected by Appsmith.
- Sign Up
After Heroku finishes setting up the app, click "View," and your Appsmith should be up and running. It takes you to the account creation page, where you can enter credentials to create an account and get started.
- The Heroku Redis add-on is used for caching, which requires your account to have billing information, but Appsmith uses the free plan of this add-on so that you are not charged. Please make sure your account has already finished providing billing information.
- You may need to wait 2-3 minutes before accessing the application as Heroku may take a while to spin up the dyno and start the Appsmith application.
Custom domain
If you wish to link a custom domain (For example, https://appsmith.yourcompany.com)to your Appsmith installation, please follow the steps below:
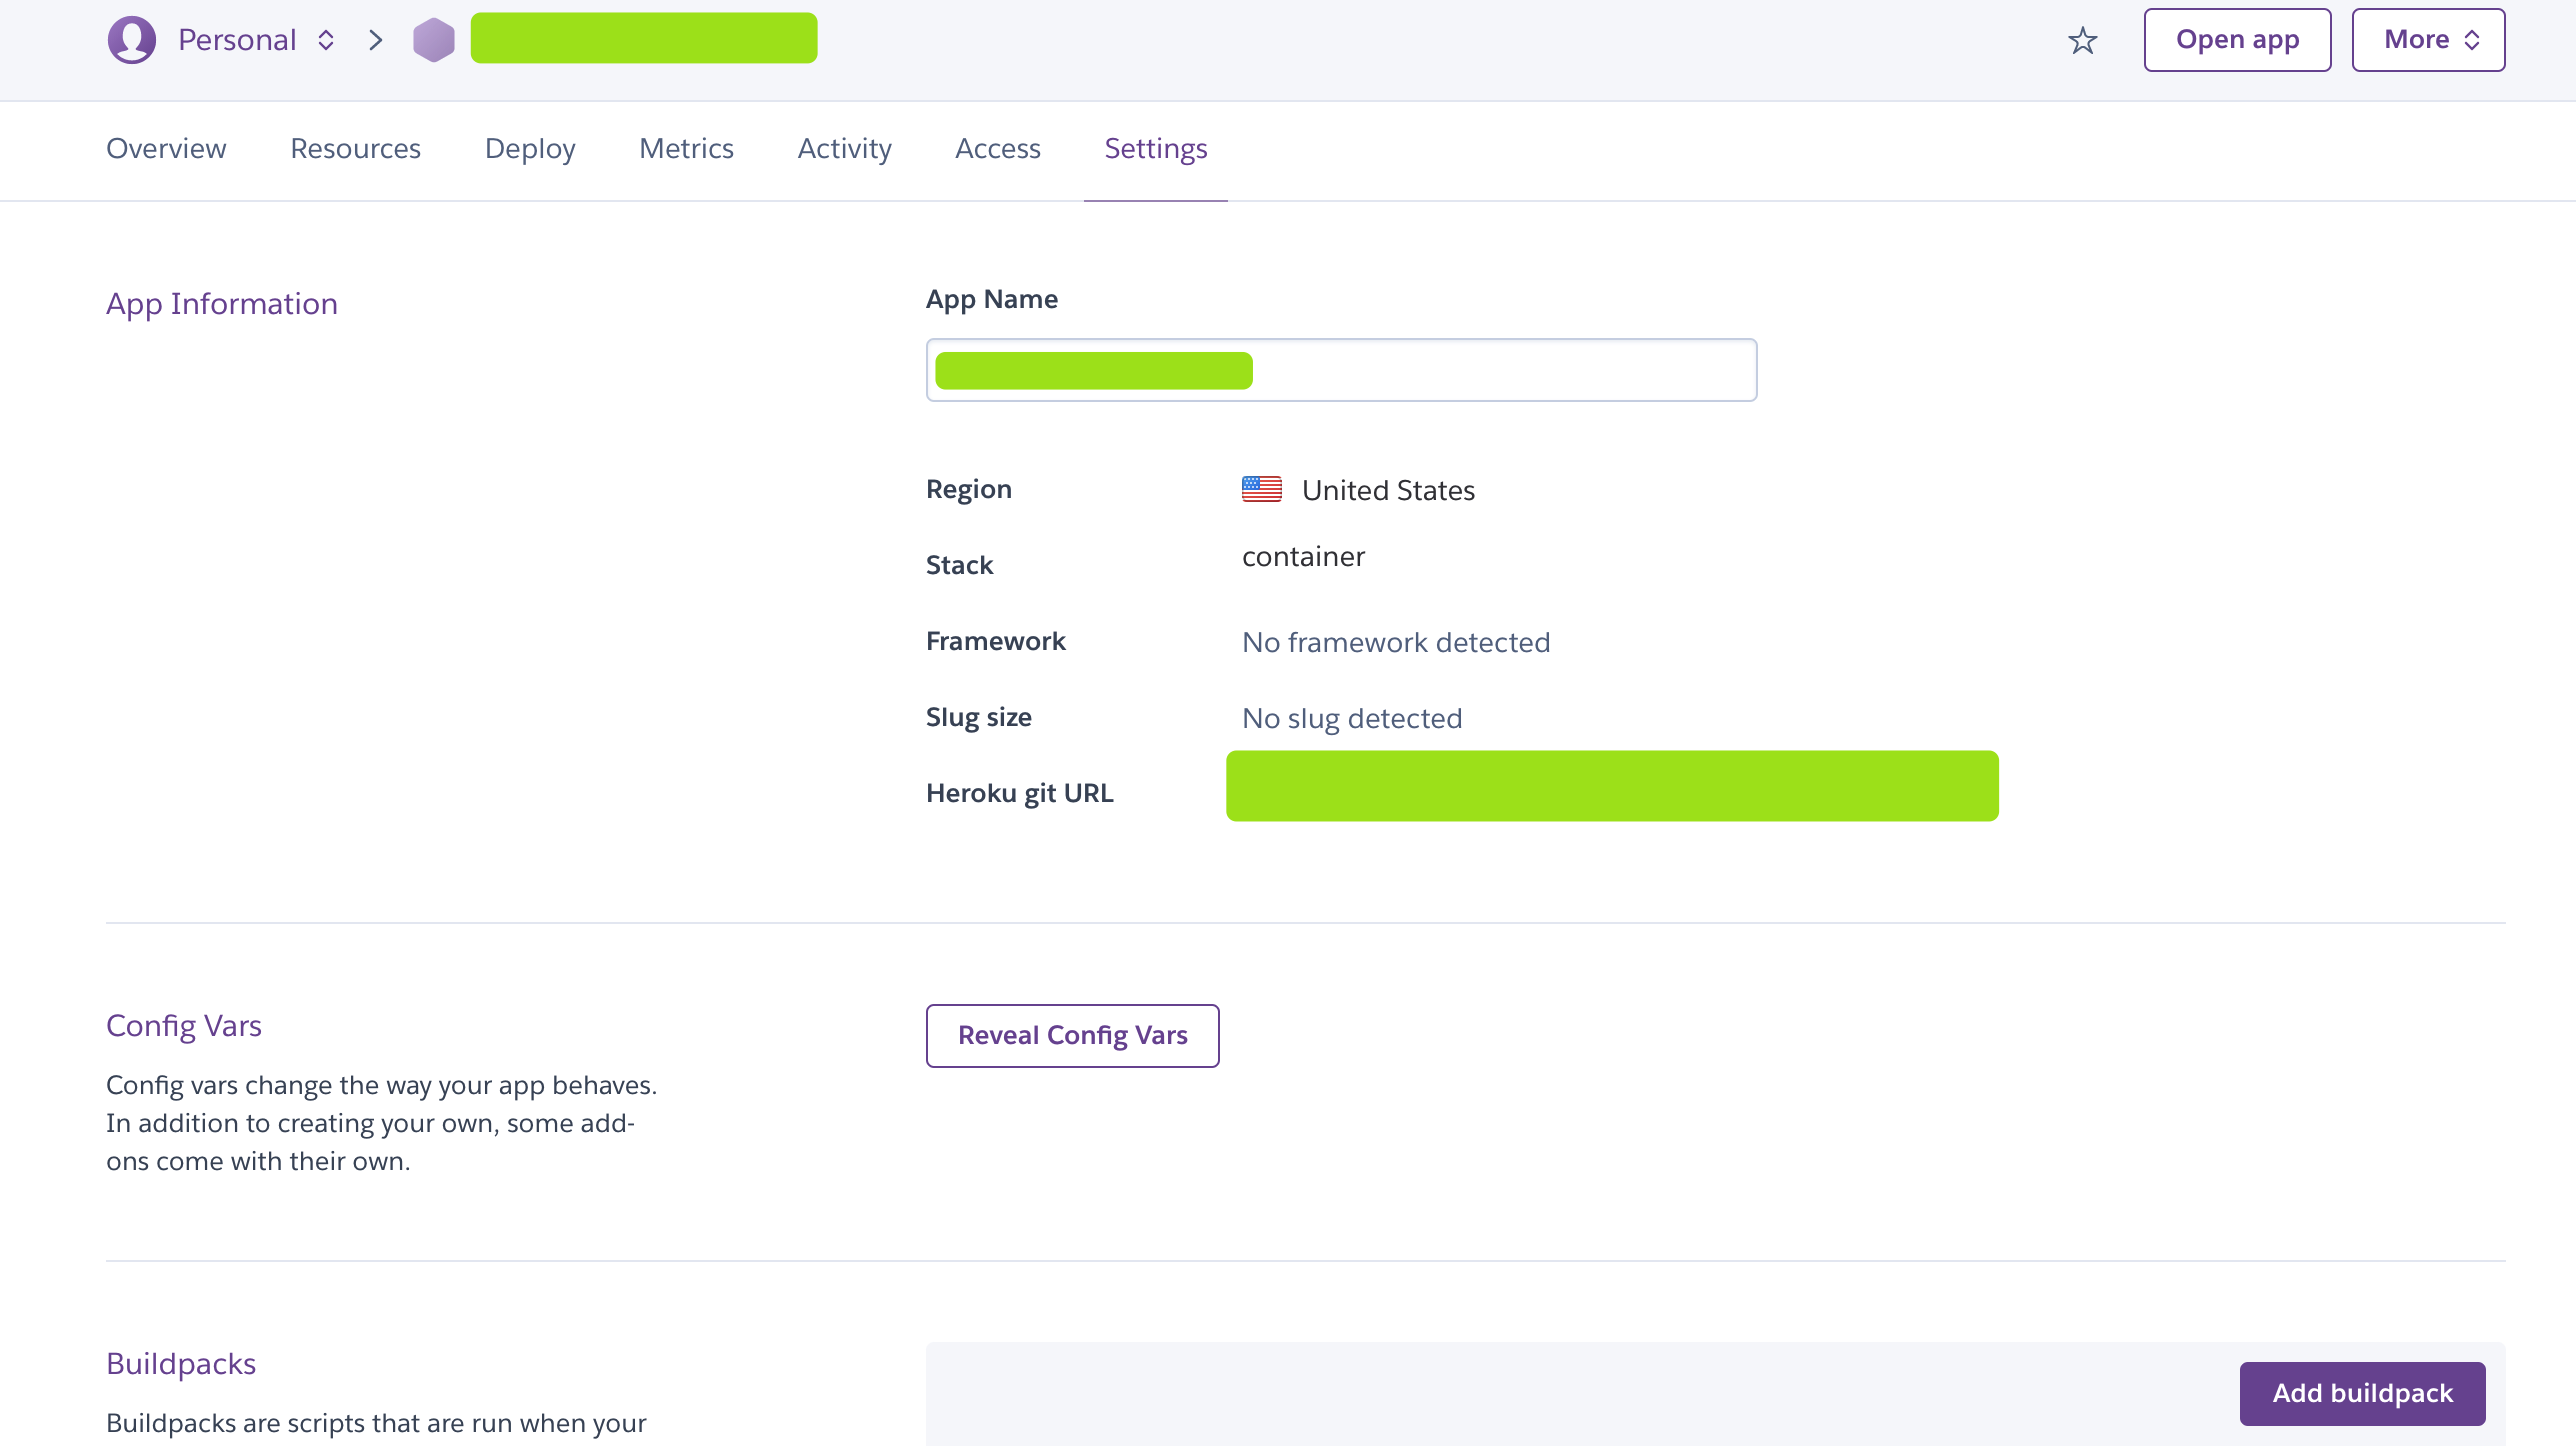
- Go to the
Settingstab in your Heroku app.

- Click the
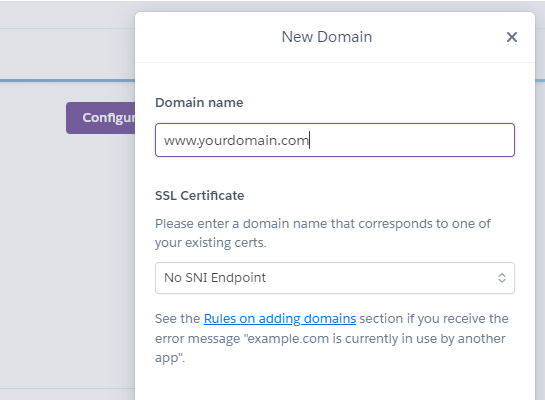
Add domainbutton in theDomainssection.

- Input your domain name & click
Next.
- Heroku provides you with a
DNS targetto which you can map your domain.
_(1)-caa2dbdd1fc4062f36eb896a08b288ea.png)
- Now, go to your DNS provider and make sure that your custom DNS Record (
Eg appsmith.yourcompany.com) is updated to map to theDNS Target.
//For example,
Change the CNAME records of your domain like this:
Host: www
Points to: "Paste the DNS Value"
TTL: 1 hour
- Once you finish, now you can access Appsmith from your custom domain.
- Once you use a custom domain, You might want to set up SSL for your dyno. Please check the official document of Heroku on how to configure SSL.
- Your dyno needs to be upgraded to at least a
hobbytype to use this feature of Heroku.
Re-Deploy your app using Heroku CLI
To re-deploy your app (re-build & re-run), make sure you have Docker & Heroku CLI set up locally. Docker is required to build the updated image locally before being pushed to the Heroku platform.
Then follow the steps below:
Pull the Appsmith repository from GitHub & move it to the
herokufolder:git clone --branch master https://github.com/appsmithorg/appsmith
cd ./appsmith/deploy/herokuFor the existing repository, pull the fresh Appsmith image:
docker pull appsmith/appsmith-ceLogin to Heroku CLI.
heroku loginLogin to Container Registry.
heroku container:loginGet your application name.
heroku appsPush your Docker-based app.
heroku container:push web -a <Your App Name>Deploy the changes.
heroku container:release web -a <Your App Name>
Please wait for a couple of minutes to let Heroku re-deploy Appsmith with the latest changes. You can check if Appsmith is running by visiting your Heroku URL (or custom domain if you've set one up).

